Update 19/07/2023
I’ve had some issues with custom DB and DVWA testings, therefore the DB configuration part has been changed. Added fping tools in initial package requirement for installation.
Update 04/04/2023
I’ve added a small part to the DB configuration where we allowed remote connection to the DB from any IP address and also changed how user is created in MariaDB, so a bit different command.
Hello everyone! I apologize for waiting for the new part for so long. I have some personal matters to deal with and I wanted to focus a bit on other stuff than this lab and my website in general. So we will continue now with deploying a vulnerable web server (Linux) that will represent a pretty common thing in IT environments.
For this purpose, we will use a Ubuntu Server 22.04 LTS and on it, we will install Damn Vulnerable Web Application (DVWA) that already comes with quite a lot of vulnerabilities we can practice on.
Ubuntu installation and configuration
I will not bother with the steps on how to install Ubuntu Server, so I will leave this YouTube Tutorial (literally the first tutorial I got on YouTube) here so you can check it out and then move on the next steps. Be sure that during installation you use NAT or a Bridged network adapter so you can perform updates and install tools like nano for easier file editing and also to download DVWA into /var/www/html folder for example or wherever you want.
1
2
3
4
5
6
apt update
apt install -y apache2 mariadb-server mariadb-client php php-mysqli php-gd libapache2-mod-php nano unzip fping
cd /var/www/html
wget https://github.com/digininja/DVWA/archive/master.zip
unzip master.zip
mv DVWA-master DVWA
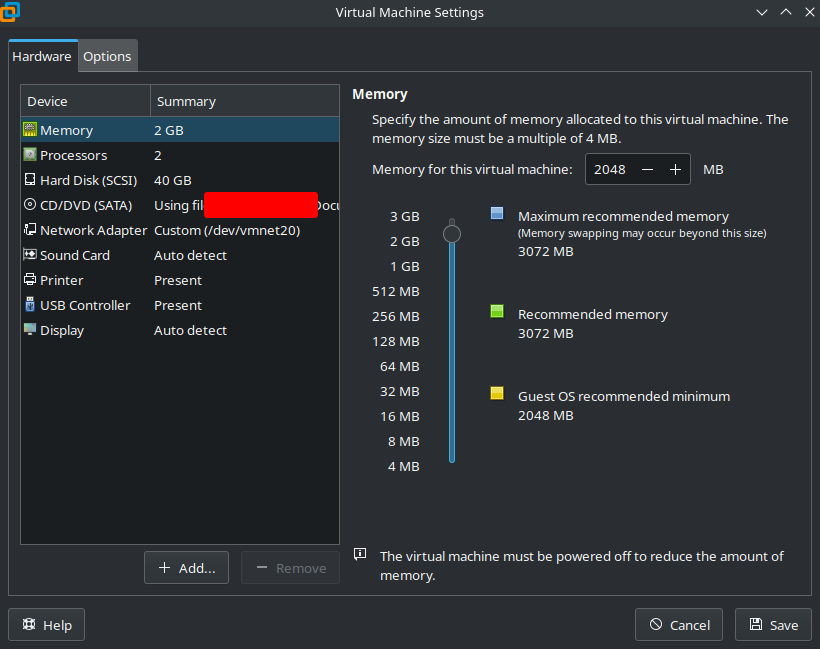
After you install packages and download DVWA, make sure you change its network interface to VLAN 20.
Now we will configure a static IP address.
Create a new file /etc/netplan/01-network-config-01.yaml with the following content:
1
2
3
4
5
6
7
8
9
10
11
12
network:
    version: 2
    renderer: networkd
    ethernets:
        ens33:
            addresses:
                - 10.0.20.10
            nameservers:
                addresses: [10.0.20.254]
            routes:
                - to: default
                  via: 10.0.20.254
Note: The interface name might be different in your VM. In mine, it is ens33. You can check the interface name with the ip a command.
After you create the command, enter netplan apply command to apply changes and review them with the ip a command.

Before we move on installing DVWA, let’s create a snapshot first, in case we mess up something, so we can easily start from scratch without initial configuration.
DVWA Installation
The installation of DVWA is pretty straight forward. I followed the official guidance, but with small changes (usernames, passwords, etc.).
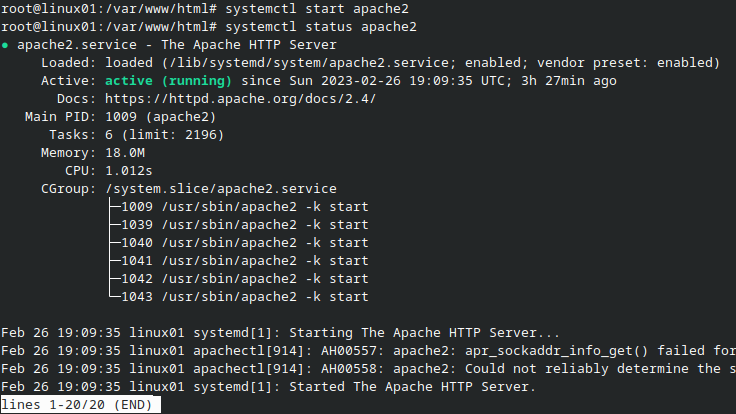
First, you need to start Apache service to start DVWA web application.
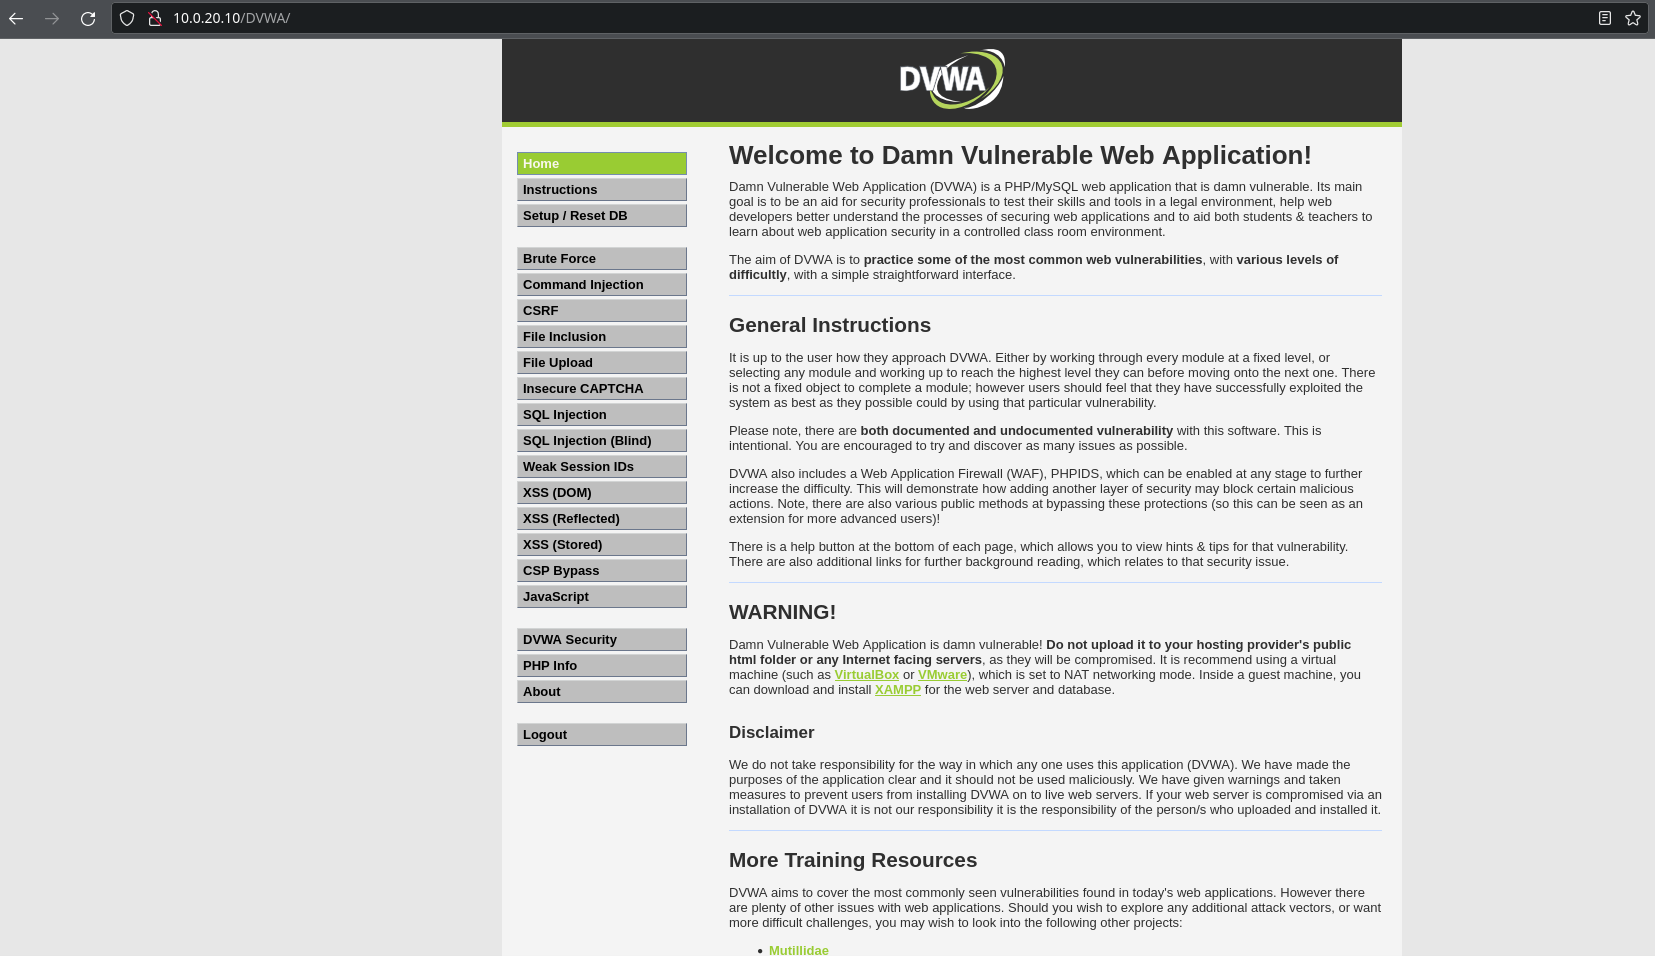
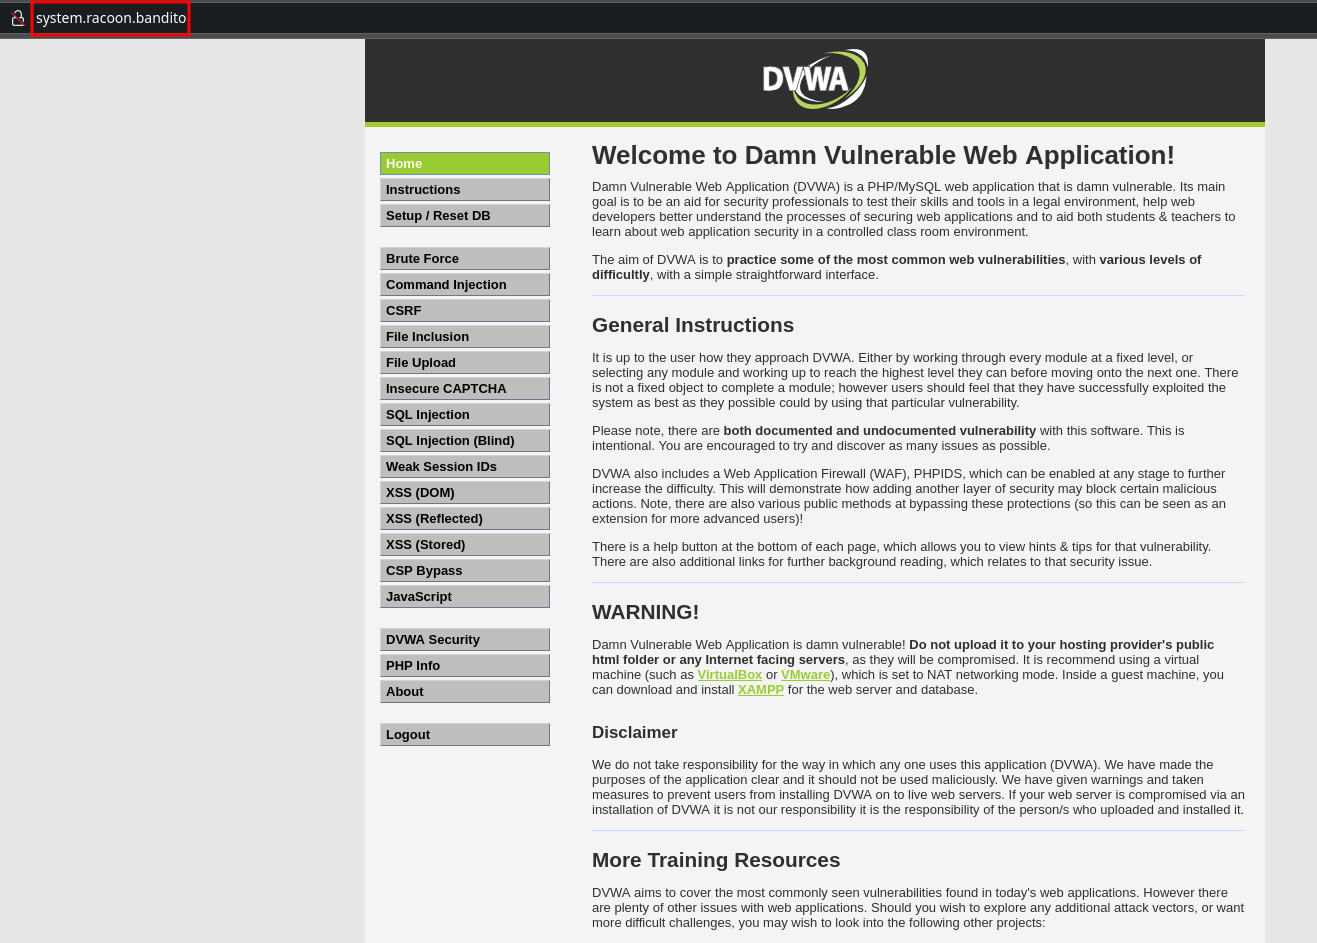
Then in your browser on your host machine open http://10.0.20.10/DVWA/ to open the web application.
Database configuration
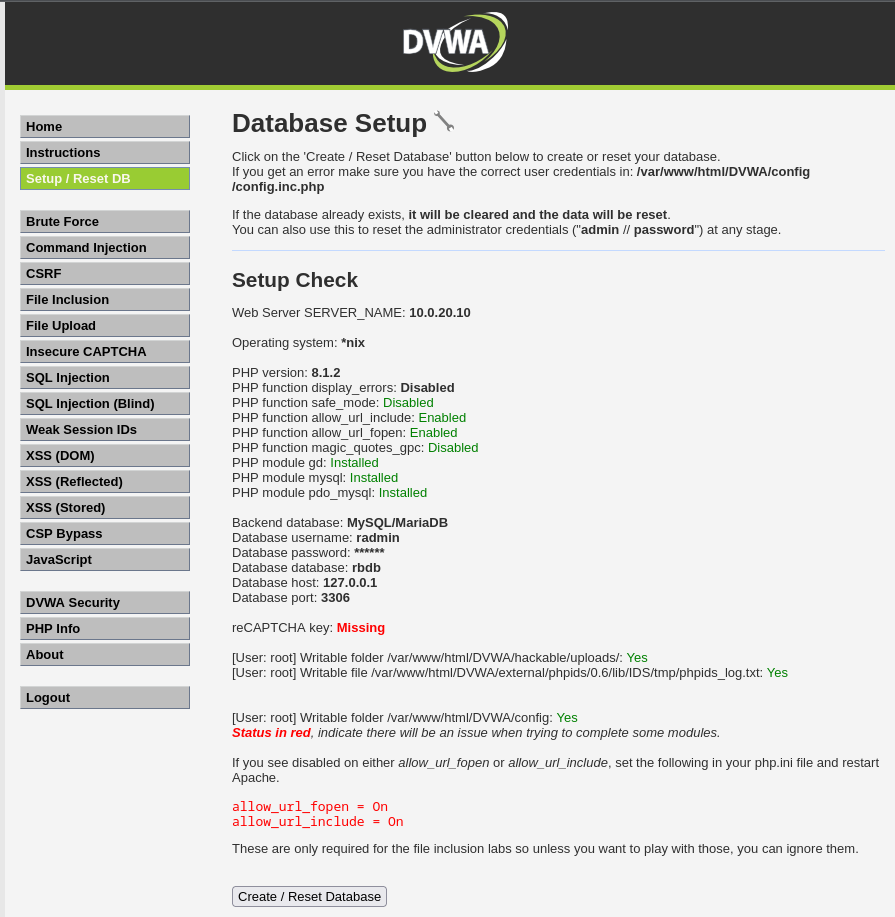
The easiest way to setup DB is to open DVWA page and then go toSetup / Reset DB page. On the bottom click the button Create / Reset Database to configure it.
To make it even more unsecure, we will allow remote connections to the database. Edit the file /etc/mysql/mariadb.conf.d/50-client.cnf and change the bind-address from 127.0.0.1 to 0.0.0.0.
1
2
#bind-address = 127.0.0.1
bind-address = 0.0.0.0
Now restart MariaDB with sudo systemctl restart mariadb and make sure access to the DB is allowed from any source with ss -tnlp command.

Other DVWA configuration
A few minor configurations we need to perform are regarding some folder permissions that you can see on the setup page of DVWA.
1
2
3
chmod 777 /var/www/html/DVWA/hackable/uploads/
chmod 777 /var/www/html/DVWA/external/phpids/0.6/lib/IDS/tmp/phpids_log.txt
chmod 777 /var/www/html/DVWA/config
Also make sure that in your PHP config file you’ve enabled following options:
1
2
allow_url_fopen = On
allow_url_include = On
Now everything is green as it should be. :)
Apache configuration
And for the end let’s set up DNS for our web application. First, we need to copy the default Apache config file and change it according to our needs:
1
2
3
4
cd /etc/apache
cp sites-available/000-default.conf sites-available/system.racoon.bandito.conf
cd sites-available
nano system.racoon.bandito.conf
Make it simple as possible:
1
2
3
4
5
6
7
8
9
<VirtualHost *:80>
        ServerName system.racoon.bandito

        ServerAdmin radmin@bandito
        DocumentRoot /var/www/html/DVWA

        ErrorLog ${APACHE_LOG_DIR}/error.log
        CustomLog ${APACHE_LOG_DIR}/access.log combined
</VirtualHost>
And then we need to enable our configuration, disable the default one, and restart the Apache service:
1
2
3
a2ensite system.racoon.bandito.conf
a2dissite 000-default.conf
systemctl restart apache2
Now edit the /etc/hosts file and add system.racoon.bandito to the first line:
1
2
3
4
5
6
7
8
9
10
11
root@linux01:/etc/apache2/sites-available# cat /etc/hosts
127.0.0.1 localhost system.racoon.bandito
127.0.1.1 linux01

# The following lines are desirable for IPv6 capable hosts
::1     ip6-localhost ip6-loopback
fe00::0 ip6-localnet
ff00::0 ip6-mcastprefix
ff02::1 ip6-allnodes
ff02::2 ip6-allrouters
root@linux01:/etc/apache2/sites-available#
And finally, on your host machine, edit hosts file (since I use Linux it’s the /etc/hosts file):
1
2
3
4
5
6
7
cat /etc/hosts

127.0.0.1   localhost localhost.localdomain localhost4 localhost4.localdomain4
::1         localhost localhost.localdomain localhost6 localhost6.localdomain6

10.0.1.50 firewall.racoon.bandito
10.0.20.10 system.racoon.bandito
Now you should be able to open DVWA by DNS record.
Active Directory configuration
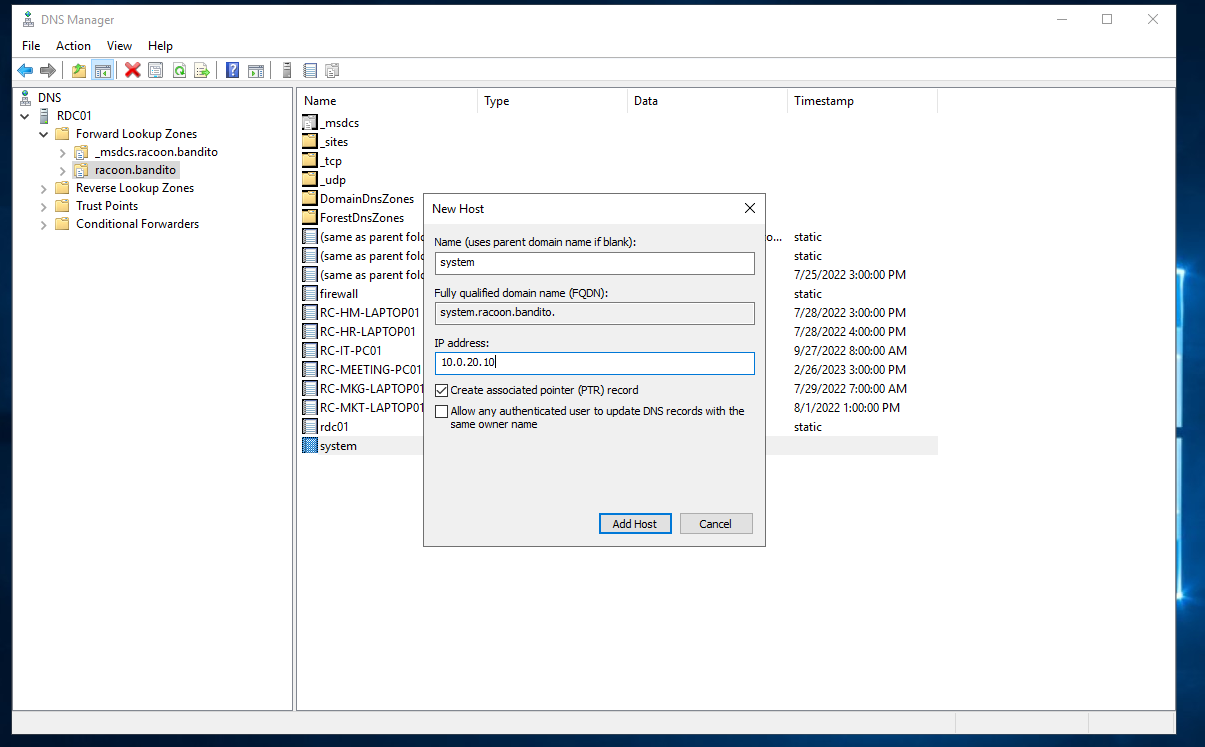
For the web application to be available to other VMs in the domain, we need to create A records as we did for the firewall in 6th part of the guide only for system.racoon.bandito.
Now you should be able to access the website from Windows 7 host machine.

Don’t forget to create a snaphots for Active Directory and of course Linux server VMs once everything is installed.
Summary
So now we have our web server running on Linux and with the database and on top of that is a DVWA which will be very useful for testing access to the network and app from outside the network, once we get to that part. So the only two left things to set up for our lab are Kali Linux to simulate an external attacker and a SIEM. I guess the next focus will be on Kali Linux VM with the basic tools, probably will create a few basic scenarios, and will have to think about it. Hope you’ve enjoyed it and feel free to contact me if you have any questions. Until the next time!