Update 04/04/2023
As Microsoft retired their VMs, they are no longer available on their site. But fortunately, it seems there are some archived backups and alternatives. Check FlareVM GitHub discussion for more information.
In the previous post, we focused on creating a DFIR environment that can be used for various purposes, like DFIR, OSINT, file analysis, mail analysis, and more. Now it is time to focus on the environment for malware analysis. It is my duty again to mention that these are not guidelines on how to perform these operations (in this case malware analysis) but to create a secure environment for it. I will include a few tutorials at the end of the article, that will help you gain basic knowledge about malware analysis.
Please be aware that malware analysis can be dangerous if you don’t know what you are doing. These guidelines should provide the basics on how to create a sandbox environment. I will not take any responsibilities in case you are doing manual tweaks, or have some other local firewalls or configurations in place, which could lead to infection of your machines. Please be careful and in case you don’t know, don’t be afraid to ask a question. There are plenty of people and communities that can help you.
Networking
When it comes to malware analysis, you want to create a secure environment (or sandbox environment) in which you can analyze malicious files in the safest way. This means that while you analyze the malicious files, you don’t want to infect any other virtual machine (or even worse, your own physical machine) in your lab.
When you are doing malware analysis, you will perform both static and dynamic analysis. While performing dynamic analysis, there is a high possibility that you will infect a VM and that it will try to communicate with some malicious IPs on the Internet (it depends from malware to malware). That is why we’ve created a VLAN 99 that serves as an isolation VLAN. Devices in this network can only communicate between themselves, but not with the other networks.
But then again, let’s say we want to download malicious samples from the Internet to practice, or to get them from other machines. In that case, we also have to satisfy those requirements. With our current network, there are a few safe methods to achieve this:
- We can set up a local firewall on DFIR VM to block any incoming traffic from MA VMs. Also, on the firewall, we can set up firewall rules to block all traffic coming from those VMs toward the other VLANs and the Internet. When we need to download a malicious sample file, we will revert a VM snapshot, allow the Internet, download the file, and then block the Internet again. This can be a bit overwhelming.
- We can create another VLAN, VLAN 99 for example, that will be completely isolated. We will use a machine with VLAN 50 to download samples and access other machines, and when we want to perform malware analysis, we will switch the machine to VLAN 99 and change the TCP/IP information. This can also be a bit tedious work.
- Finally, we can simply move MA VMs to the VLAN 99 (forget about them being in a VLAN 50) and download malicious samples either on a physical machine and then move to the MA VMs through shared folder features (both VMWare and VirtualBox have them), or we can download them on our DFIR VM (which is more preferable option) and then move them to the MA VMs with SCP. This article will provide guidelines for this method.
Windows malware analysis VM
Microsoft offers a couple of Windows VMs for testing purposes, totally free of charge. They can be downloaded from their official webiste. For our lab, we will use MSEdge on Win10 VM and we will install a Flare VM on top of it. Flare VM is an excellent Windows-based security distribution for malware analysis that comes with great tools.
First, we will need to import the downloaded Windows 10 VM into our virtual manager software. Keep the default resources, except the HDD which needs to be expanded to at least 80GB, and for the network adapter setup a NAT just for a start so we can activate Windows 10 license which is valid for 90 days only.
Initial configuration
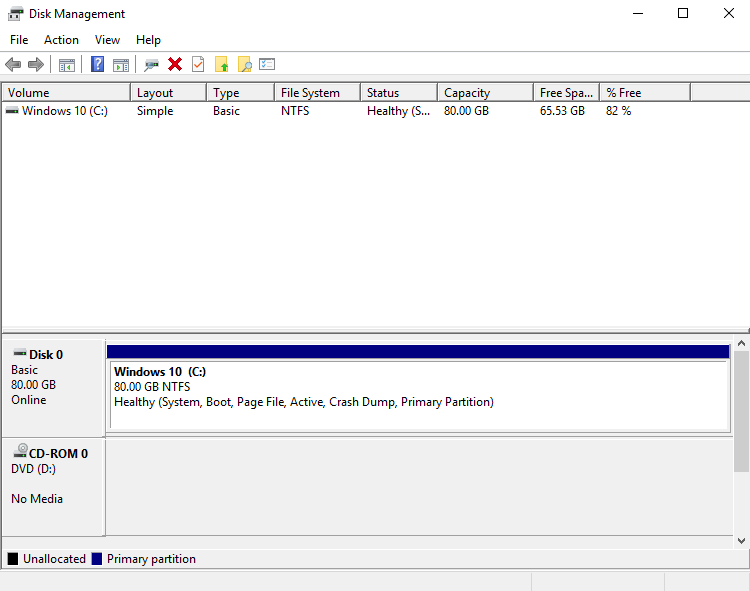
The first thing we need to do is to expand the size disk because we only expanded it in VM settings. You can do this with the Disk Management tool. Once you open it, right-click on Windows 10 (C:) and click on the Extend volume… button. Then just follow the setup and keep all default. After configuration, it should look something like the picture below.
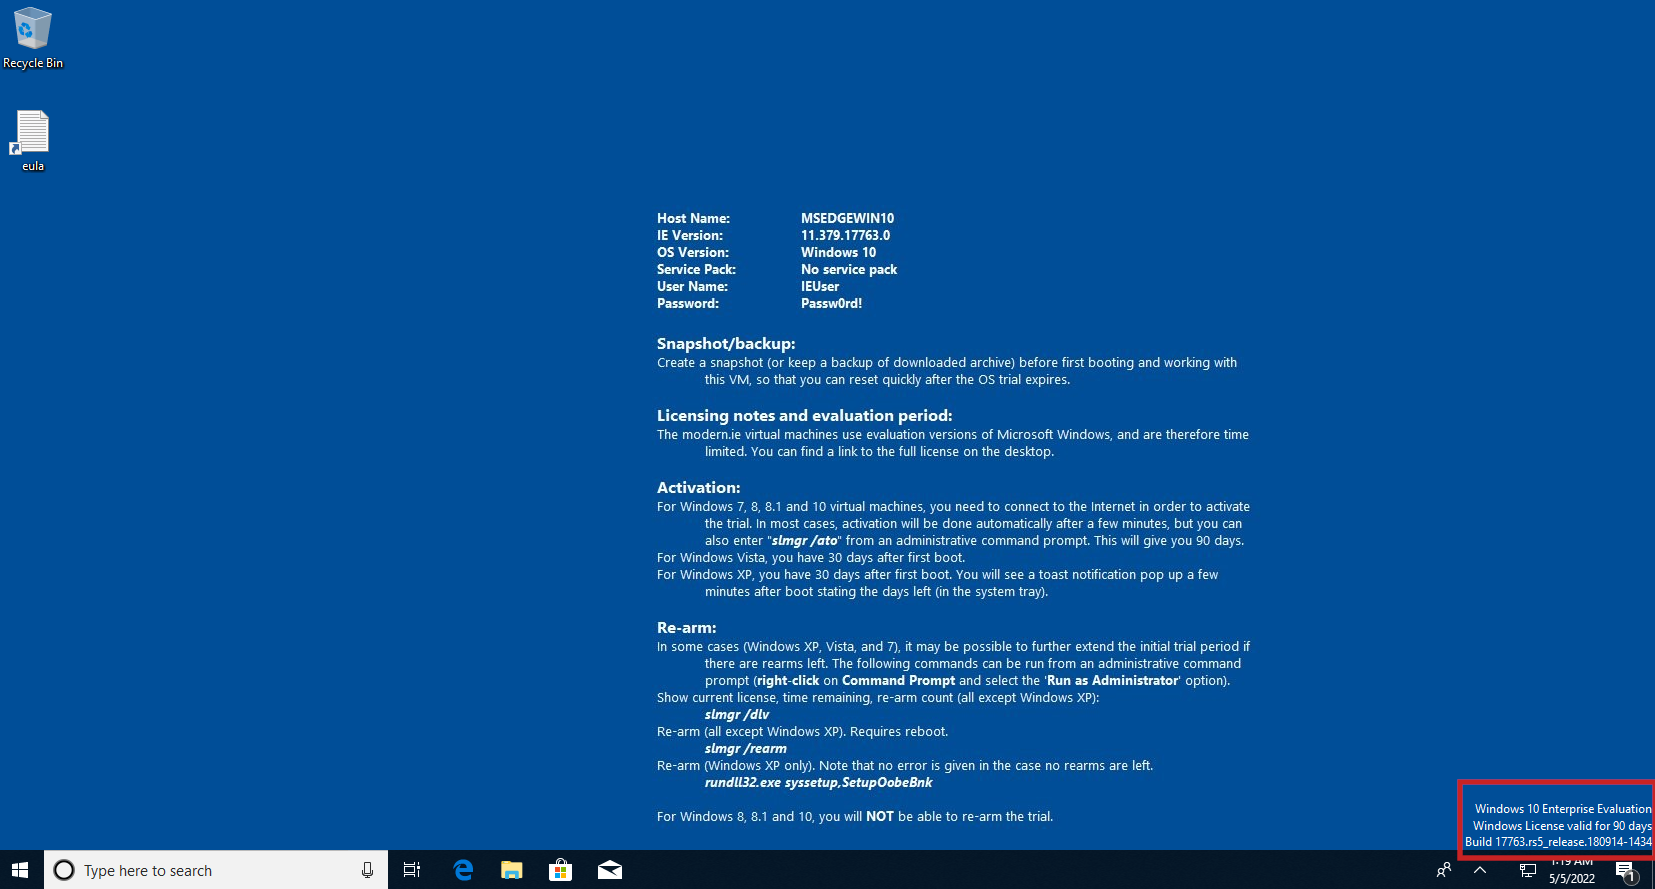
Once the license is active, we should see in the bottom right corner a message that it is valid for 90 days.
Now let’s disable Windows Defender, Windows Firewall, and Windows Updates:
Now reboot the VM and create a snapshot called “Vanilla” or whatever you prefer. This way we will keep the snapshot with a clean installation of day 1 of our license, in case we mess up something during Flare VM installation.
Flare VM
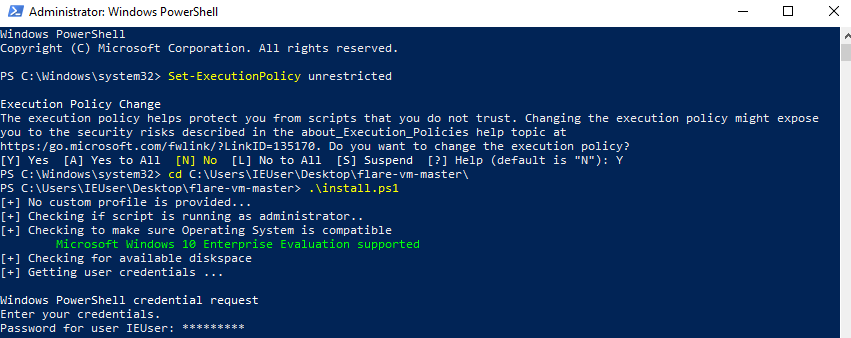
After you’ve downloaded Flare VM from the GitHub, move it to your Windows VM and extract the archive. Flare VM requires escalated privileges in order to be installed. This can be done by running a PowerShell as administrator and executing a Set-ExecutionPolicy unrestricted command. You will be prompt with the question to confirm the changes. Press the Y button and then press Enter.
Now in PowerShell move to your Flare VM folder and run the install.ps1 script to start the installation of Flare VM. You will be asked to provide a password for IEUser. After that, the installation will be automatically started and you just need to wait until it is done. It can take up to a few hours to complete.
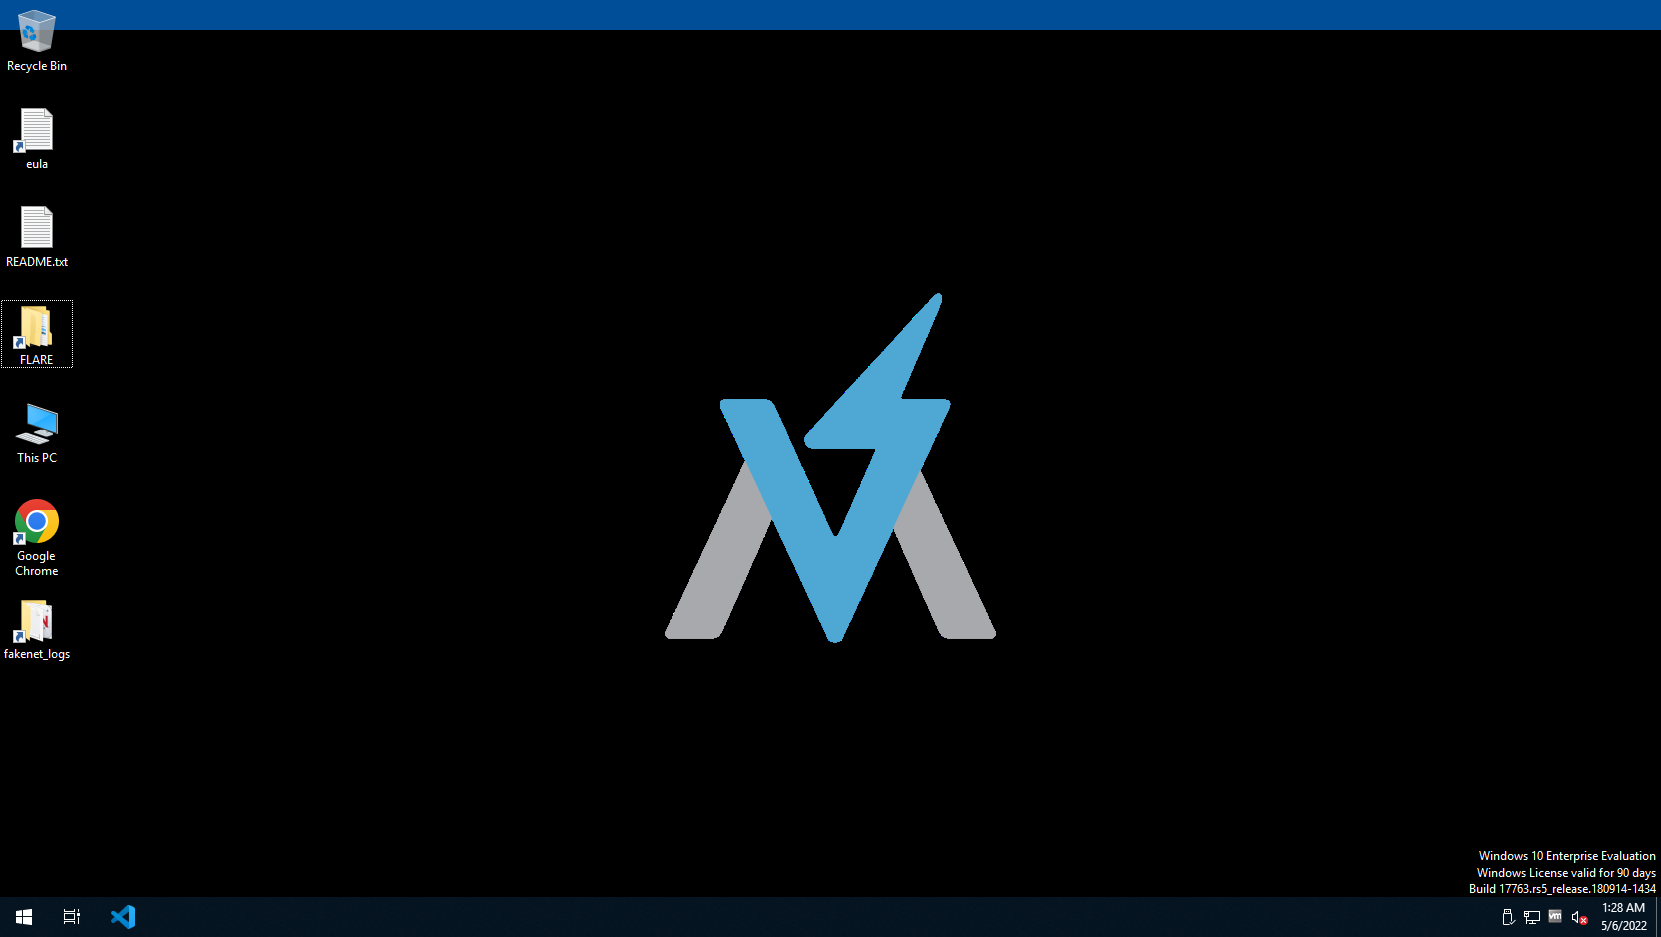
After installation is done, you will be presented with the following desktop environment:
Network configuration
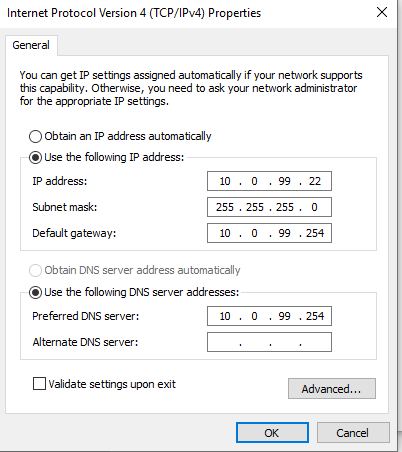
After Flare VM is installed, we can change the VM interface to VLAN 99 and configure a static IP address.
For the end, as I like to use WinSCP for file transfer on Windows, and as we are going to need an open SSH port so we could transfer files from our DFIR machine to Flare VM for analysis, just follow this article on how to enable SSH on Windows, and install WinSCP which can be then used to move files from Flare VM to REMnux.
Create a new snapshot so you can always revert to it when starting with a new analysis.
Linux malware analysis VM
REMnux
Now it is time to set up our Linux VM for malware analysis and for that purpose, we will use REMnux. It is the powerful distro for malware analysis and reverse-engineering that comes with great tools (unfortunately to me, it comes with GNOME as a desktop environment).
Installation of REMnux is pretty straightforward. You download desired virtual appliance from REMnux download page and import it into your virtualization software. To start set a network interface to be in NAT network, so we can apply all updates first with the commands sudo apt update and sudo apt upgrade -y.
After upgrade has been completed, put VM into the VLAN 99 and edit /etc/netplan/01-netcfg.yaml file:
1
2
3
4
5
6
7
8
9
10
11
network:
  version: 2
  renderer: networkd
  ethernets:
    ens3:
      dhcp4: no
      addresses: [10.0.99.22/24]
      gateway4: 10.0.99.254
      nameservers:
          addresses: [10.0.99.254]
          search: [racoon.bandito]
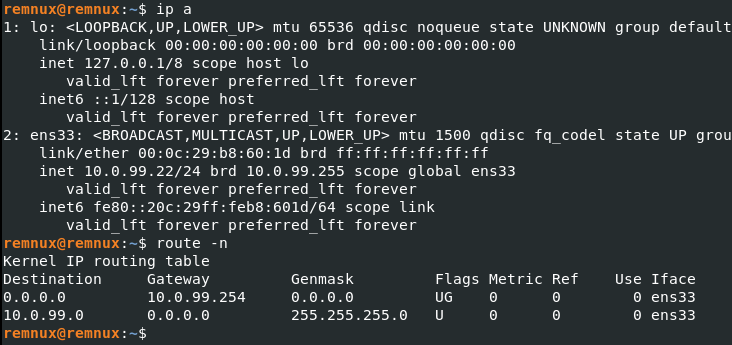
Save the file and execute the command sudo netplan apply to apply network changes. Then verify changes.
Create a new snapshot so you can always revert to it when starting with a new analysis.
Extra content
- Malware Analysis Bootcamp by HackerSploit. This is an amazing bootcamp, focused on Flare VM. I strongly recommend going through all videos.
- Malware Noob2Ninja Course by Neil Fox. Another amazing malware analysis tutorial, but here you will build your MA environment from scratch using Windows 7 and great free tools.
Summary
So we finally managed to deploy our virtual machines for malware analysis and create a secure environment to analyze malicious things. Please be careful while you performing malware analysis, as it can be quite dangerous and could hurt not just your virtual machines, but also your physical laptop. Do know that there are some types of malware that can avoid the virtual environment and jump from it to your physical drive.
Next time we will start with our Corporate LAN network, where we will deploy basic two workstations that will simulate end users. Until next time. :)