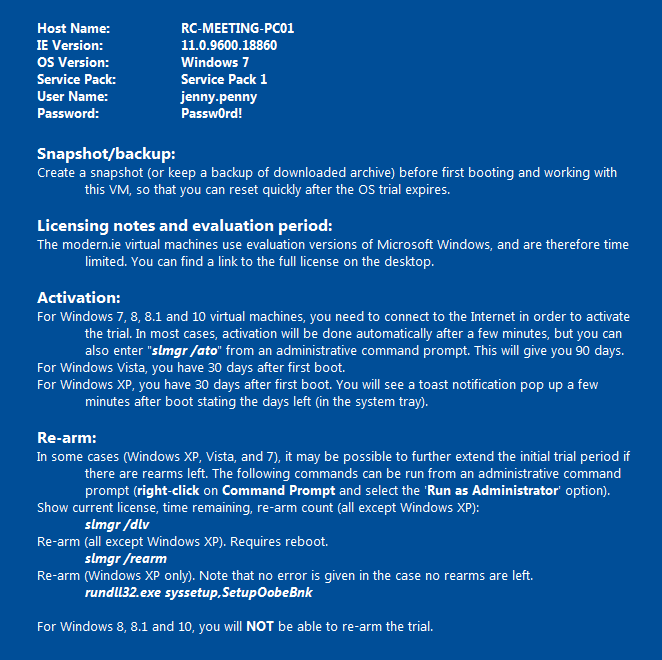
After a while, I returned with a new tutorial, a continuation of my Blue Team Home Lab series, and this time it’s about adding the end devices to our lab. For this part, we are going to use Windows 7 and Windows 10 evaluation images, which can be downloaded from here. Download IE11 on Win7 and MSEdge on Win10 images.
Prerequirement
Before we continue further, be sure that you’ve followed up all the steps from the previous article on how to setup domain controller (DC) as in this one we will setup VMs that will be joined to the domain on the domain controller.
Also, be sure that both firewall and DC are powered on (duh).
Windows 7 VM
Let’s start with the old one. Yes, I know Windows 7 is not officially supported, but you would be surprised how many still Windows 7 machines are out there, active, not just in homes, but also in the corporate world.
Once you’ve downloaded the image, create a new VM in your virtualization software, and let’s call it “Windows 7 Host” for easier follow-up. The resources that I am going to give to it are the following:
- Memory 4GB
- Processors 1 CPU
- HDD 40GB
- Network Adapter vmnet20
I will not cover how to install Windows 7, there are plenty of tutorials on YouTube so follow any of them. What I will cover is what is coming after installation, VM configuration, and domain joining.
Windows Firewall
As Windows 7 by default blocks ICMP, let’s first enable it so we can verify the availability of a machine later (there are also other methods for this, but ping is the simplest one).
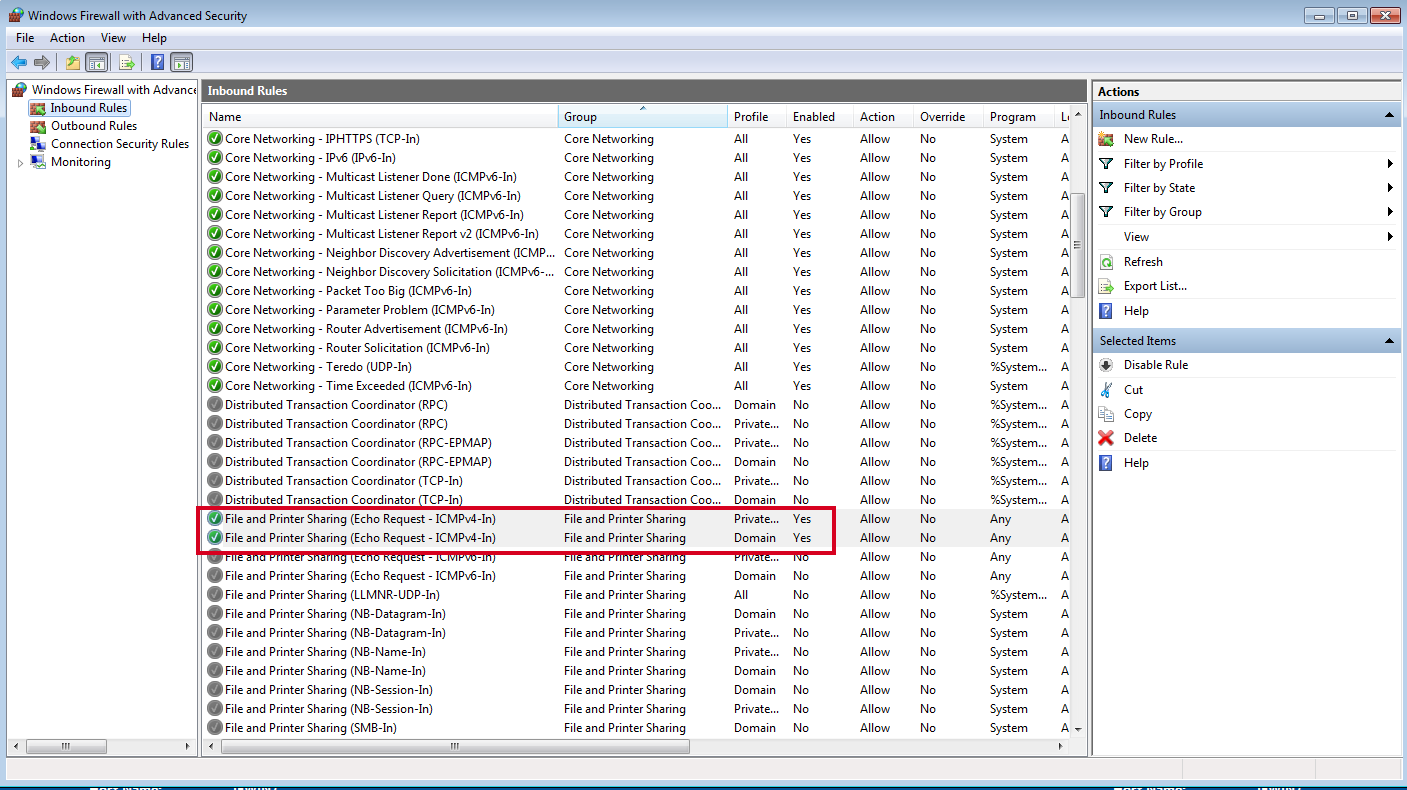
Go to Control Panel > System and Security > Windows Firewall and then open the Advanced settings menu.

Find the File and Printer Sharing (Echo Request - ICMPv4-In) rules and enabled them both, for Private, Public and Domain.
Computer Name
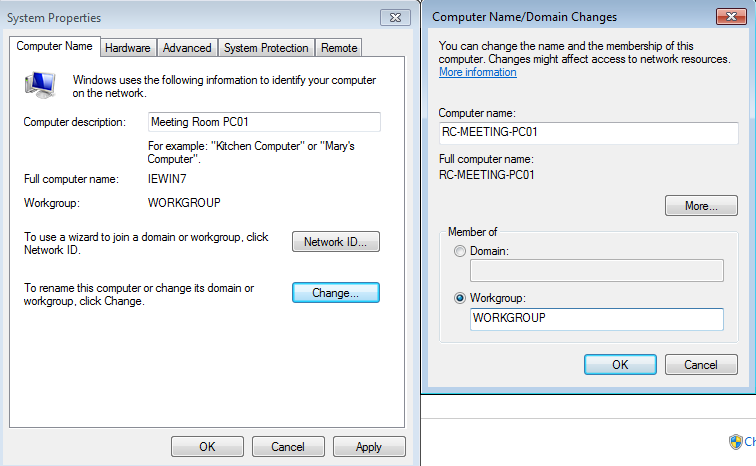
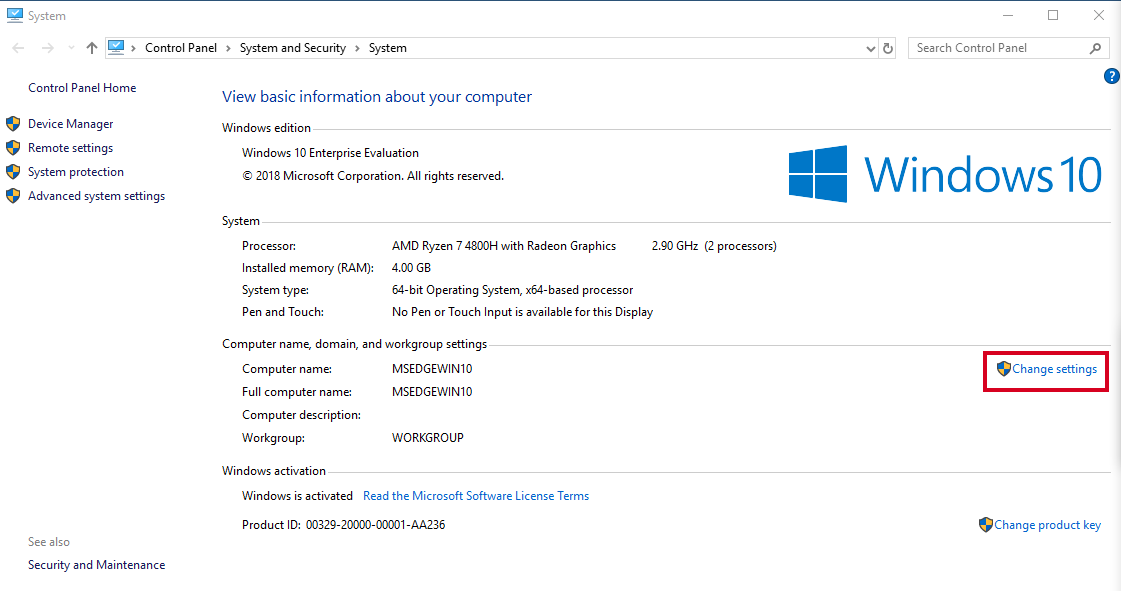
Next, we will change the name of our computer/VM to look more like a corporate device. Go to Control Panel > System and Security > System and then click on the Change settings.

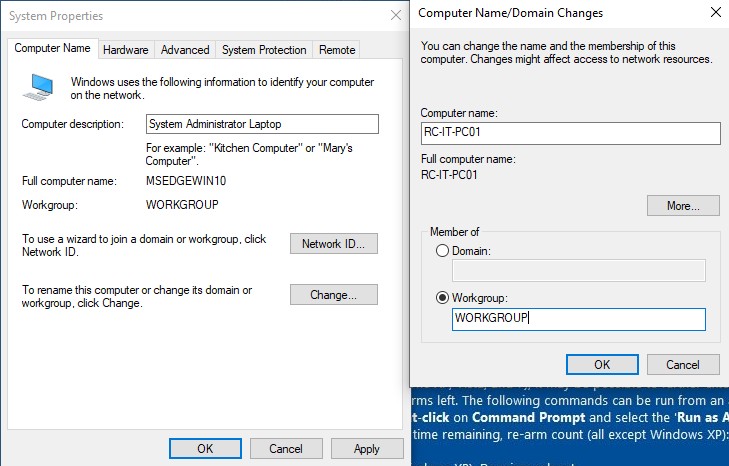
In the new open window, in the field Computer description enter the description of the machine as you like. In my case, it will be Meeting Room PC01 to simulate some old PC which is used only for the meetings with new potential employees, which is often forgotten to update. Then click on the button Change to change the name of the machine. In the Computer name field enter the name of the machine. Mine will be RC-MEETING-PC01. Save the configuration and restart the machine.
Joining the domain
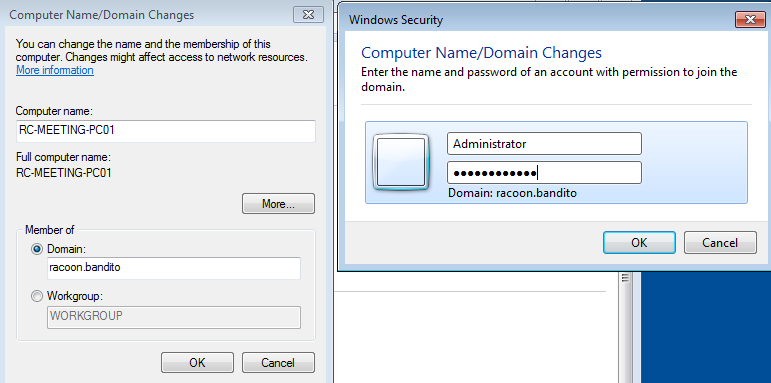
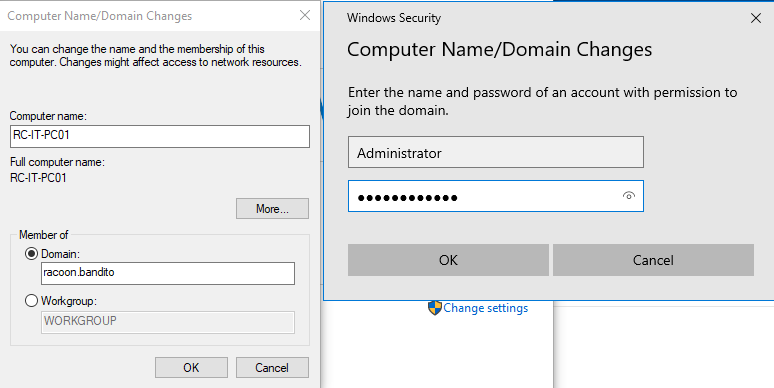
Now we can add our VM to our domain. Open again the same window where we changed the name, and now change the computer to be a member of the domain instead of a workgroup. In the Domain field enter the domain name you’ve chosen and click on the OK button. You will be prompted to enter credentials, and for this, we will use our Administrator account as it is the one who has privileges to add a computer to the domain.
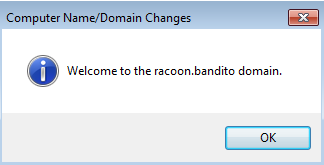
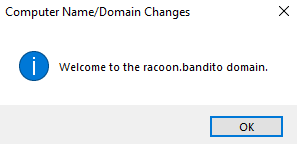
If everything is correct, you should get a message that your VM has successfully joined the domain. You will need to restart the VM one more time.
Testing domain user
Once restarted, during the login screen, click on the Switch user button and then Other User. Your domain will be automatically recognized and now you can try login in with the HR user we’ve created in the previous article.
Once logged in, we can see our account username on the desktop screen.
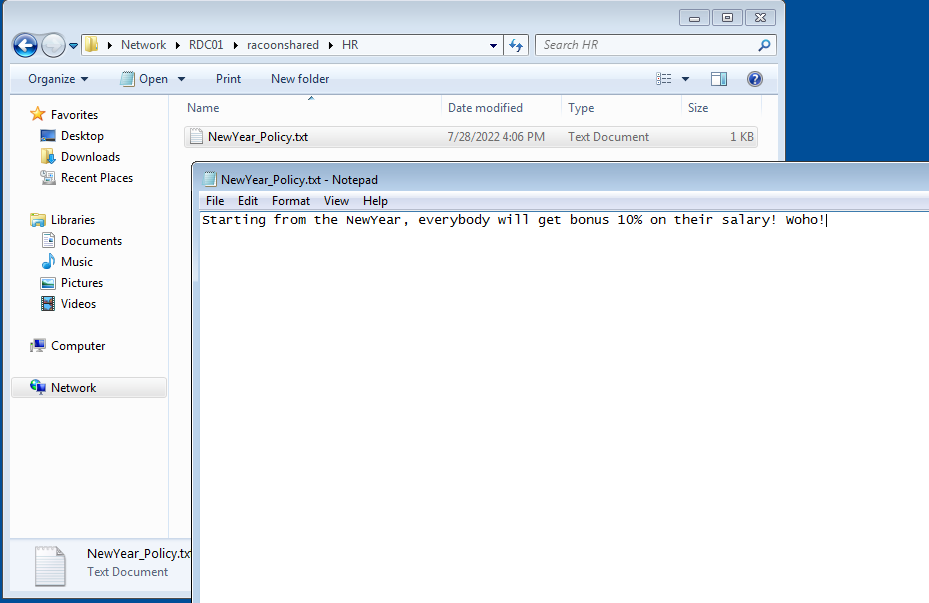
We can also test access to the shared folder. In File Explorer open the \RDC01\racoonshared\HR and try to access any file. If you don’t have one, try to create one.
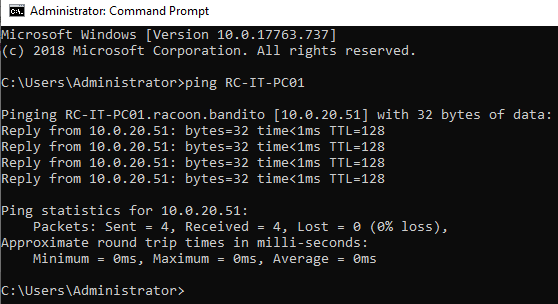
And just to be sure everything works right, we can try pinging the VM from the DC by the name we’ve set previously.

Windows 10
Let’s now configure the Windows 10 machine.
Windows Firewall
First, we will enable ICMP. The process is very similar to the one on Windows 7.
Go to Control Panel > System and Security > Windows Defender Firewall and then open the Advanced settings menu.

Find the File and Printer Sharing (Echo Request - ICMPv4-In) rule and enabled them both, for Private, Public and Domain.

Computer Name
Now let’s setup Windows 10 machine. The process is very similar to Windows 7. Again go to Control Panel > System and Security > System and then click on the Change settings.
Change the description and the computer name, save the configuration, and restart the VM.
Joining the domain
Again, open the windows where we changed the name of the machine, change to be the member of a domain, and then add our domain name. Click on the OK button and enter Administrator credentials once prompted.
If everything is correct, you should get a message that your VM has successfully joined the domain. You will need to restart the VM one more time.
Testing domain user
Once restarted, in the bottom left corner click on the Other user and it should automatically change you to the login screen to your domain. Let’s try some other credentials from the previous article and the IT user account.

We can also test access to the shared folder. In File Explorer open the \RDC01\racoonshared\IT OPS and try to access any file. If you don’t have one, try to create one.

Again ping test proves everything works as expected.
Summary
Okay so now we also have two end devices added to our lab, that represent corporate end devices that have access to some company resources, they are domain joined devices and they can now present possible threats to our environment which we can exploit with pen-testing skills and tools. Hopefully, you find this article useful, and stay tuned as we are not finished yet. We still have more to do. Next time we will set up as simple Linux server that will serve the purpose of a web server and a database server, that will have some vulnerabilities which can be exploted.