It’s been more than a year since I started writing this guide. It took me this much because I had a lot of personal matters to deal with in the meantime, also from time to time I needed a break from the lab and working on a computer in general, I wanted to spend more time traveling, cooking, spending time with friends and family and also to do nothing, to be honest. Just to lie down, watch movies, play games and that’s all.
But here we are, at the beginning of the end of this journey. Beginning because the whole SIEM area is quite big IMO to be written in one article, therefore it will be separated into 3 articles:
- SIEM Installation - Deploying the Security Onion as a SIEM solution and additionally configuring pfSense for network traffic monitoring.
- Agents deployment - Deploying monitoring agents provided by Security Onion, such as Wazuh for example, that will collect logs and send them back to SIEM.
- Common use-cases, detections, and investigation - Here I will demonstrate the most common use-cases in SIEM (brute-force, password spray for example, etc.), how Security Onion detects them, how can you investigate those incidents, collect IOCs, and more.
The first thing of course is to download the Security Onion ISO image file from the official download page and then we can start with installation. At the time of writing this guide, Security Onion 2.3.250 version is used (image build 2.3.250-20230519) so there could be differences if you follow this guide after new releases.
Security Onion
Installation
Note: Before you start with the SIEM installation, add additional VLAN (VLAN 88 for example) to your network. For now, all you need to know is it will be used for port mirroring, but more about it, later in the article.
Note: Before you begin with the installation, make sure your firewall VM is powered on, and there is internet access from VLAN 50 because Security Onion requires at some point of installation internet access to get some packages and content.
Note: I will skip screenshots of the default steps, like for example step where you need to accept the license by entering AGREE. So the focus will be only on the steps which require some changes and configuration.
So once ISO is downloaded we will create a VM with the following specifications:
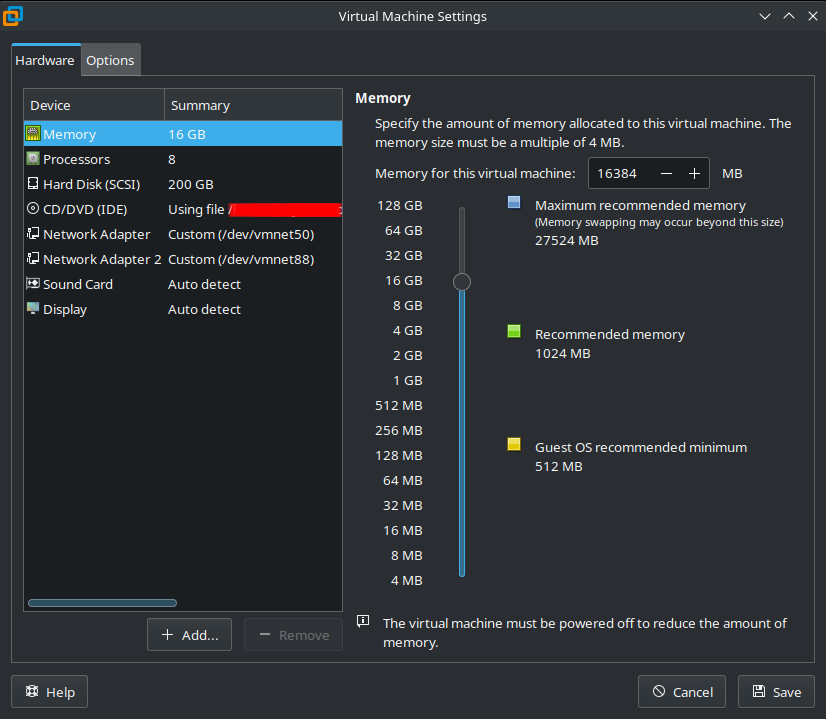
Do note these requirements are the bare minimum for the Standalone version of Security Onion (which version we will use).
Once you start VM and choose to install Security Onion (the first option) just follow along with everything default till the point where you will be asked for the username and password. Enter the desired credentials, but do note that those credentials will be for CLI access to the VM. For web access (or SOC Console access as they call it) you will create a user at a later point. You can follow the official Youtube guide for this first part.
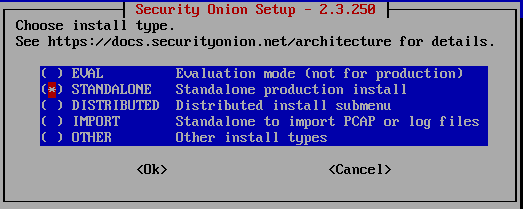
After installation and reboot of the VM, you will log in to the console with credentials from the previous step and an actual installation will begin. Continue with the installation steps, and the menu where you need to choose installation type, select STANDALONE.
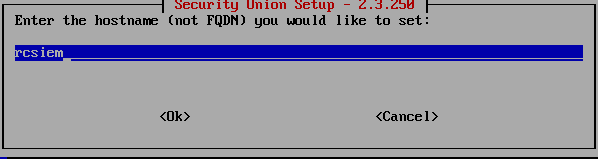
Accept the license and move to the part where you need to set the hostname. In my case that will be rcsiem but do note this is only the hostname, not FQDN as it is mentioned in the installation description. We will add FQDN later.
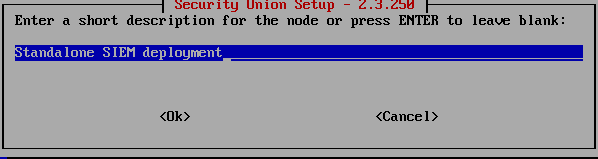
Then as a description of the node, type whatever you want.
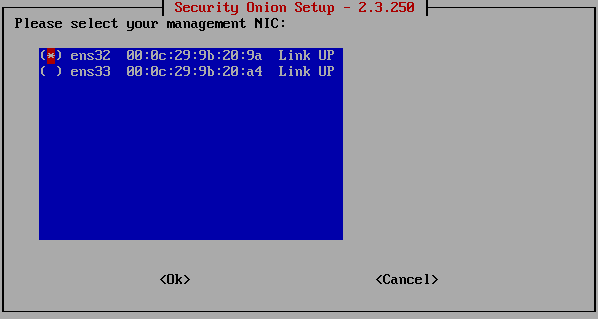
Now here comes the important part. We need to choose our management NIC. This is an interface that will communicate with other devices in the network, the interface which will have an IP address. The second interface is the one used for SPAN (port mirroring), to get the network traffic, and this interface will not have an IP address.
In my case, my first interface is in VNET 50 and that’s the interface I want to be a management interface. Be sure to compare MAC addresses of the one during the installation with the NIC in your VM settings.
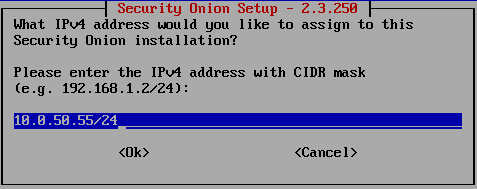
Then select STATIC option on how to set up the management interface and continue. You will be prompted to enter the IP address for your SIEM. In our case, it should be an IP address from VLAN 50 range.
Then enter the default gateway IP address and DNS server (pfSense VLAN 50 IP address in my case) and set the search domain to the one you are using from the beginning (in my case that is racoon.bandito).
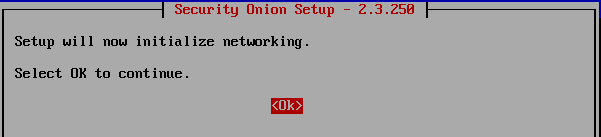
Press OK and continue.
Then continue with the default options (Standard manager installation, Direct internet connection) The next option is to choose how this manager will be installed. We will set Standard and continue.
Security Onion will start checking some scripts, it will not take much time.
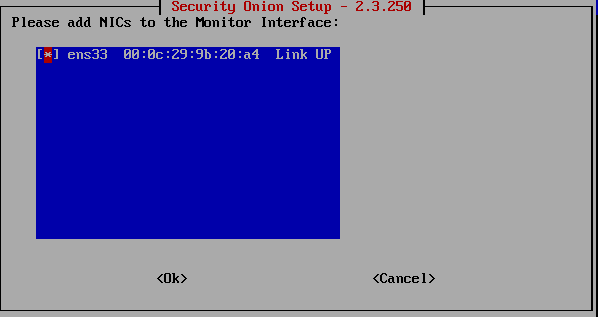
Now we come to the part of selecting the Monitor interface which is the other one, we mentioned before.
Then continue with the default settings until you get to the point to select Zeek or Suricata for metadata. Select Zeek and continue with default settings further.
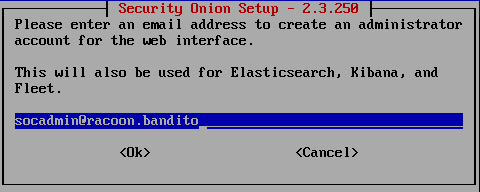
Now comes the part of creating a SOC Console user.
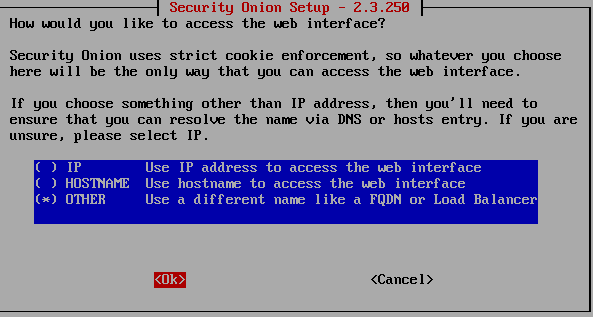
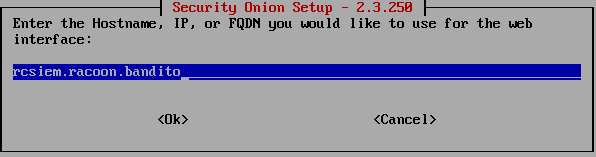
Now at the part where you are asked how you want to access the web interface, choose OTHER and then configure the desired FQDN. Optionally you can select an IP address too.
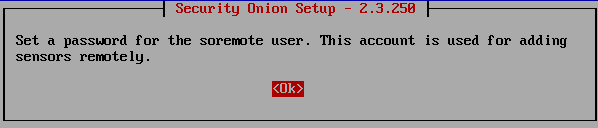
Then set a password for the soremote user which is used for adding sensors remotely.
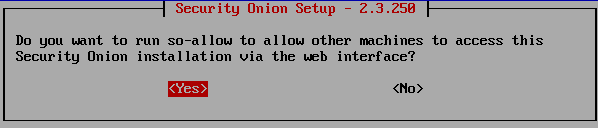
Then continue with the default settings until the part where you are asked about the web interface access. Chose Yes.
Enter your home network (usually 192.68.0.0/24 or 192.168.1.0/24) and continue.
Note: In reality, or better say in the production environment, we would set of course a network of VLAN 50, or whatever the network we are accessing from. But in this case, I do not want to access it from the VM browser, it would be just too slow, so I will use my browser outside the VMWare.
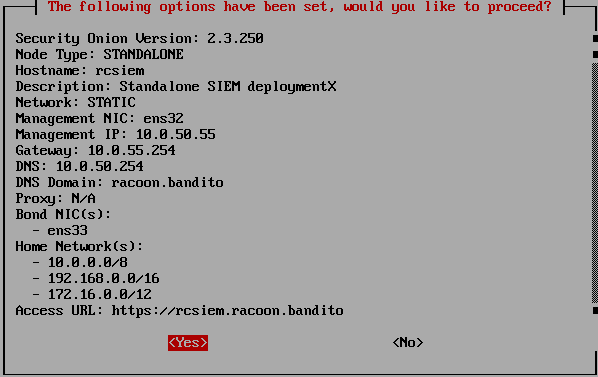
Then you will see the final configuration that will be applied. Select Yes and the installation will begin. It will take some time, so grab a coffee or something.
Do not fear if around 64% installation looks like it is stuck. It just needs more time to install those things at the time.
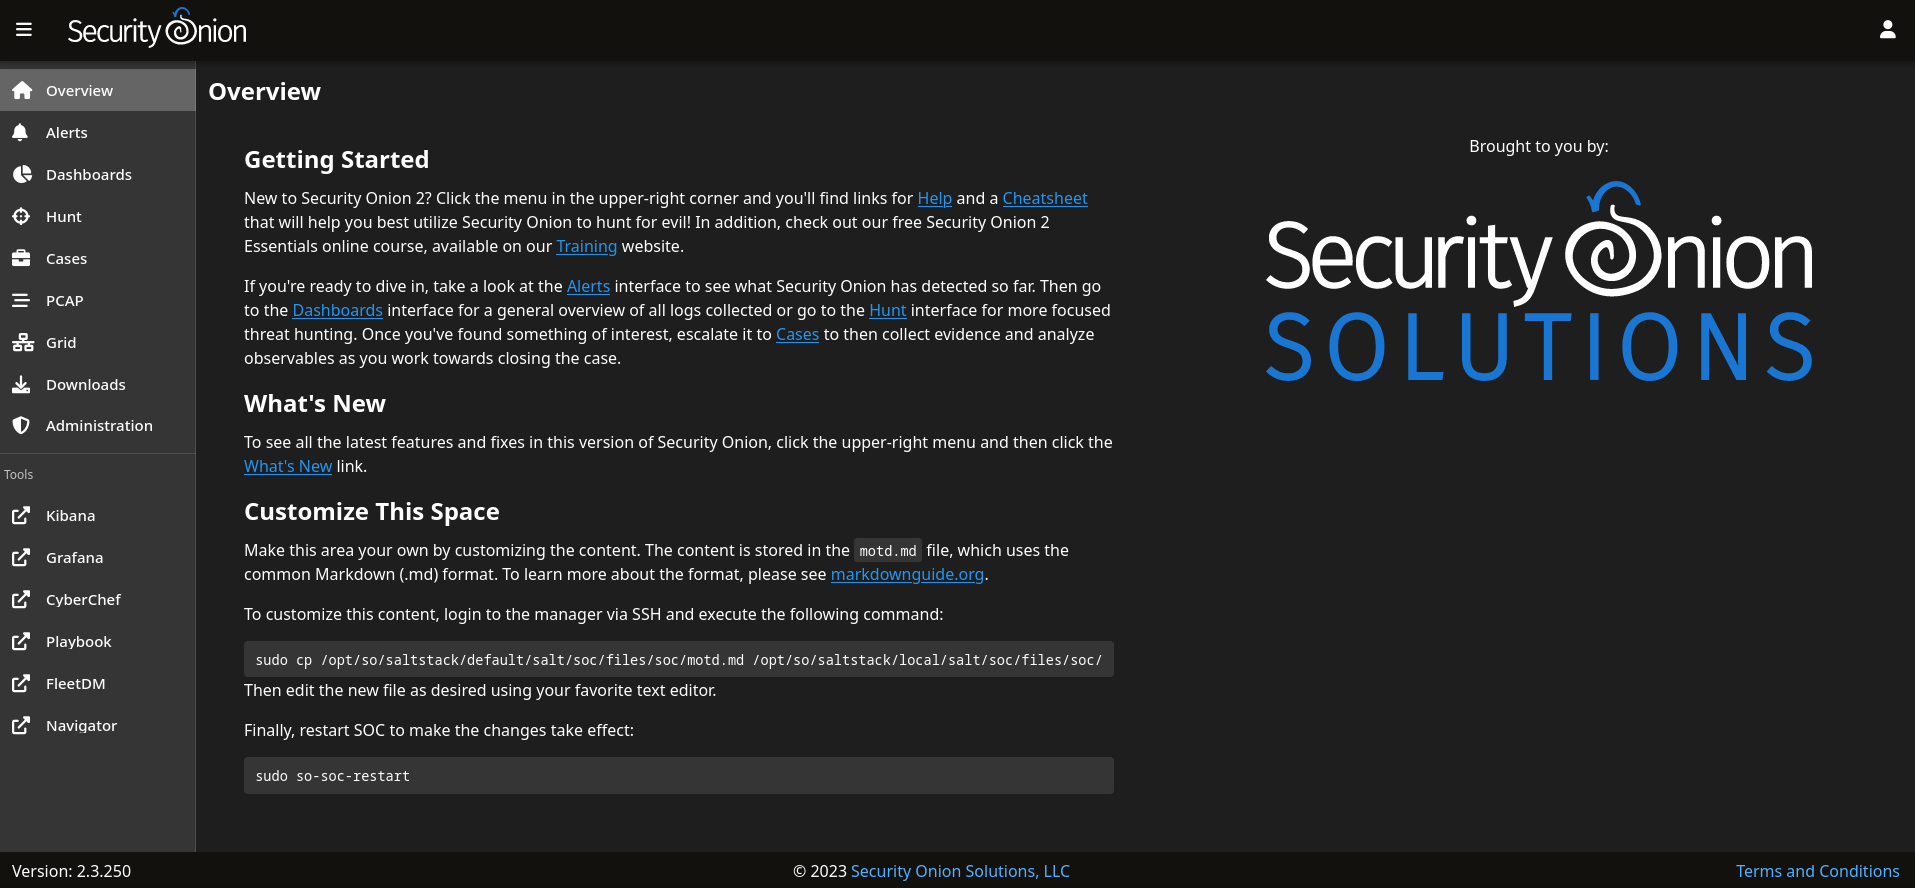
Once it is completed, you can then access it via the browser using the domain you’ve setup earlier.
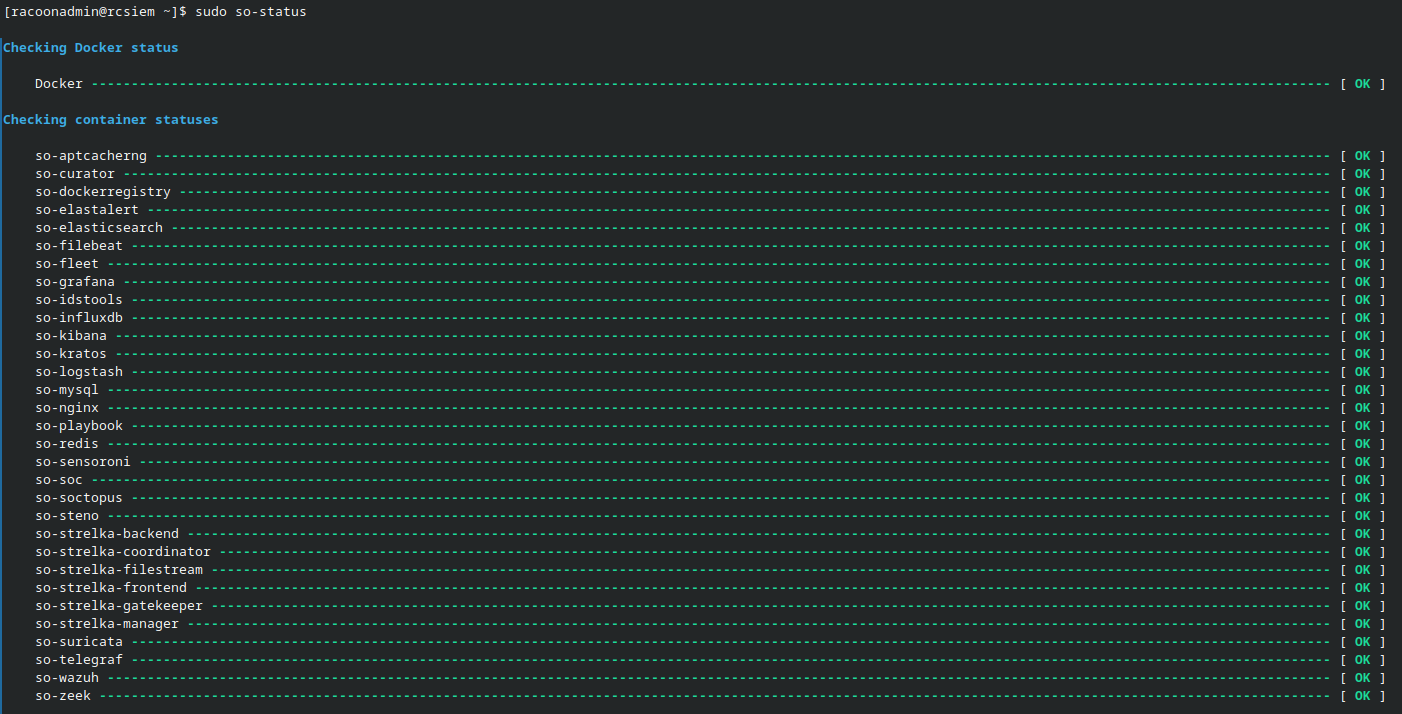
Do not fear if it is not accessible right after installation. Sometimes Docker containers need a bit of time to boot up. Connect via SSH to the server and use the command sudo so-status to see if they all booted up.
pfSense Port Mirroring
While we will deploy agents that will collect logs from end devices, we still want also to collect network traffic. To do this, we need a port mirroring to be configured on a firewall. This feature/technology allows you to get all network traffic packets that one network interface receives, and copy it to another interface, without interfering with the network traffic. Google it, I am sure you will find more and better information on the first page results. :)
So this means that we will need an additional interface on our pfSense, which will actually collect all network traffic sent to it. This is why we created earlier a VLAN 88. You need to add an additional interface in your VMWare configuration but to do that, your firewall VM must be turned off.
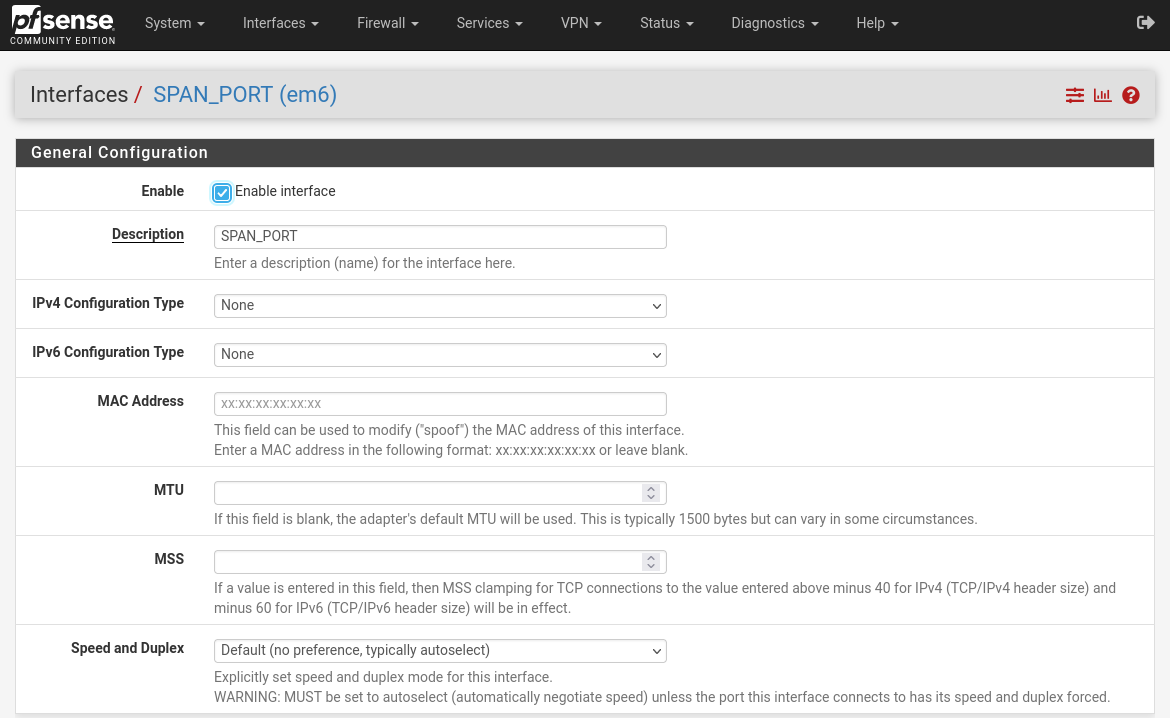
Once you add it, boot the VM and log in to the web portal. Go to Interfaces > Assignments and assign the newly created interface. Once saved, open it and configure the name and nothing else. No IP address is needed here.
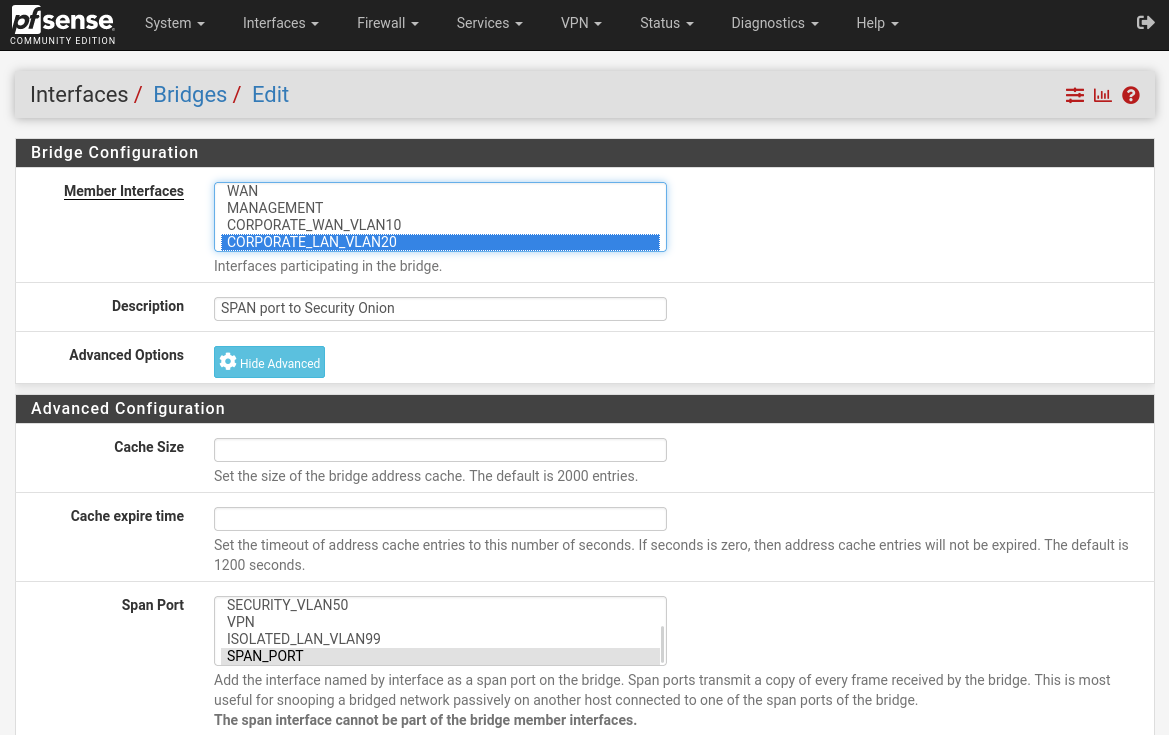
Now to create an actual span port, go to Interfaces > Assignments > Bridges and click on Add button to create a new bridge.
In the Bridge Configuration select VLAN 20 and 50 interfaces as their traffic will be monitored, and in advanced options in Span Port select VLAN 88 (SPAN_PORT) interface as that will be the interface that will receive the mirrored traffic.
Note: If you are using Linux, there might be some permission issues with the network interfaces and promiscuous mode. In my case (I am using a Fedora) I applied the command
sudo chmod a+rw /dev/vmnet*to allow read and write permissions to anyone (not the smartest idea, but it only last until OS reboot so it’s okay). Without this, I could not receive packets in Security Onion. I am not sure if this is the same case for Windows and macOS, but I would expect the same command on macOS to work if needed.
Basic testing
Let’s just perform a few quick tests, to test packet capturing. Start your Kali Linux machine and a web server (DVWA). Once started, use the following commands (with the corresponding IP addresses you’ve set of course):
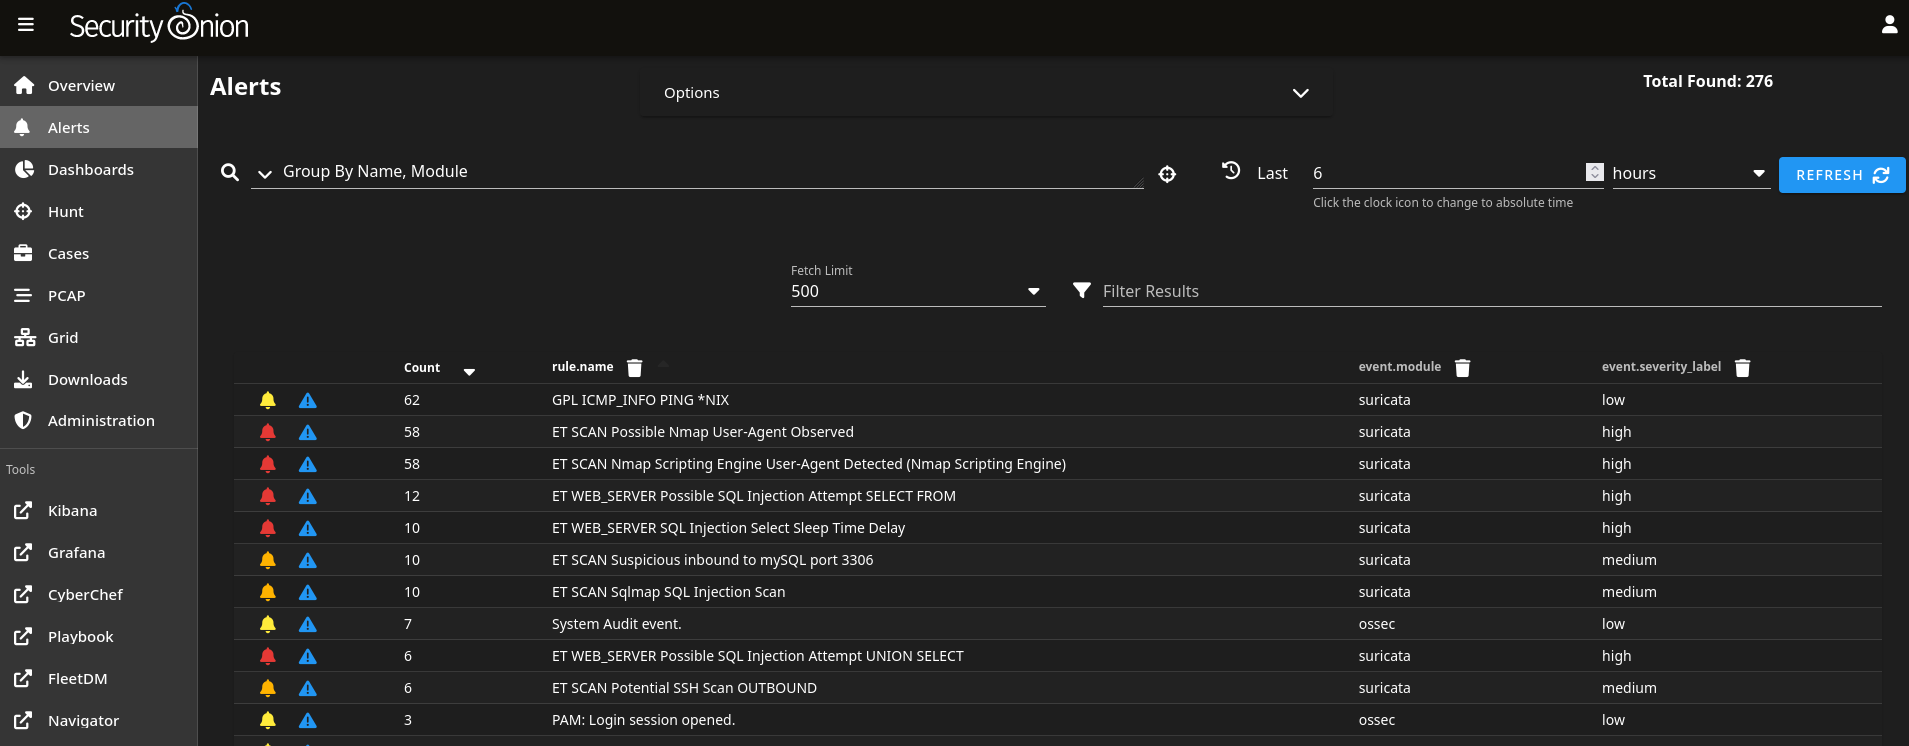
ping 10.0.20.10- Pinging the server should raise a low severity alert GPL ICMP_INFO PING *NIX.nmap -sC -sV -n -v 10.0.20.10- Quick Nmap scan should raise a few alerts of various severities, such as ET SCAN Possible Nmap User-Agent Observed, ET SCAN Suspicious inbound to PostgreSQL port 5432.sqlmap -u "http://10.0.20.10/"- Simple sqlmap scan that will probably fail but the scan attempt will still be detected.
Picture bellow shows detected alerts from our activities (and some more that I’ve performed so don’t worry if you do not see them all).
Summary
So we came to the end of the first part of SIEM deployment. We’ve installed Security Onion, configured a SPAN port on pfSense, performed a few basic malicious activities, and successfully detected them. Next time we will deploy HIDS agents on our devices in VLAN 20 and ship those logs to the Security Onion.